|
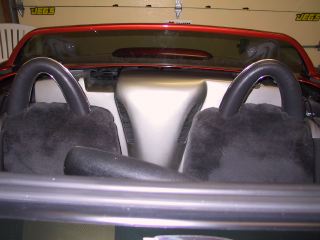
For access to speaker box cover:
Top down - open deck (trunk) lid; release
strap securing softtop; lift up softtop to expose speaker box
cover
Top up - release softop latch, lift back of
softtop up, open deck lid to expose speaker box cover
|
|
|
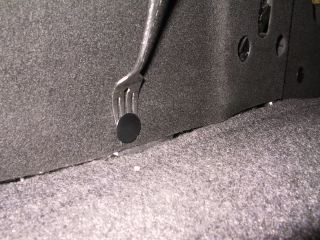
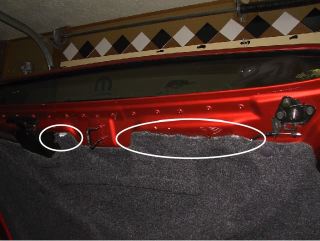
Remove fasteners - there are five in back, four in
front of cover and two on top. There probably is a special tool
for removing the fasteners, but I found that a fork works great.
It can take a bit of elbow grease for the fasteners to pop out,
but did not break any.
|
|
|
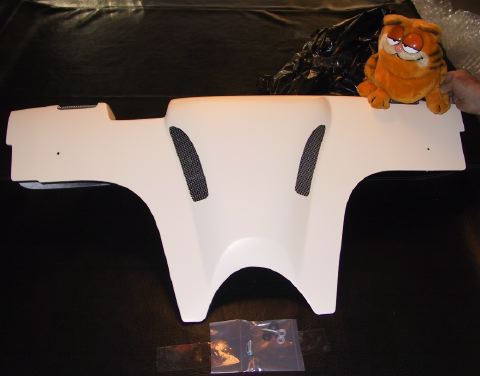
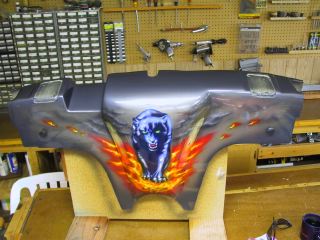
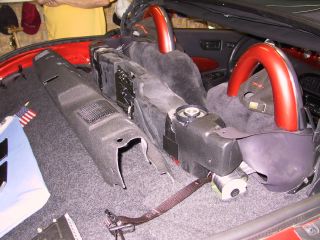
Speaker box cover removed and ready for new cover.
|
|
|
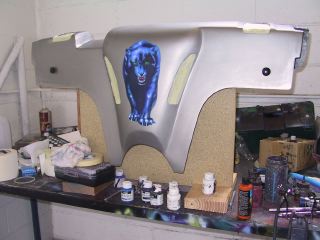
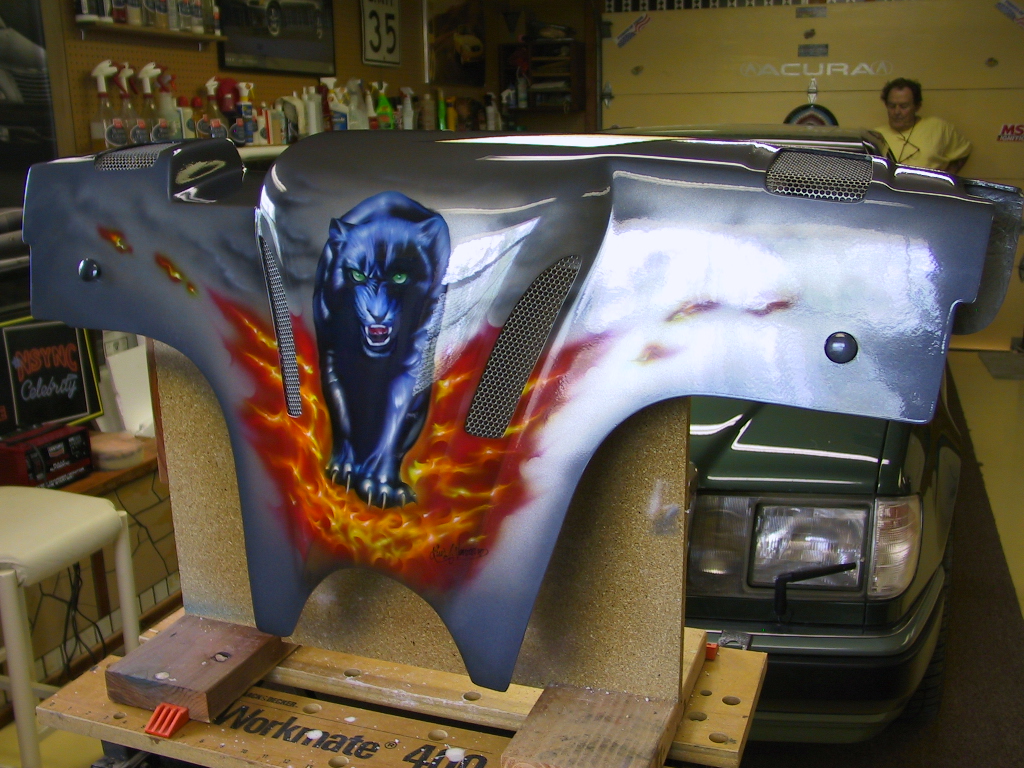
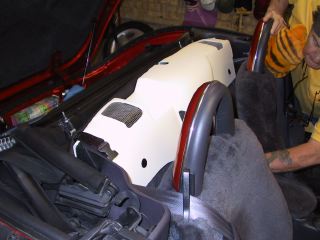
Place new cover in position and re-insert fasteners.
Put the fasteners in the back first.
Once you have lined up the holes in the cover to
the speaker box, you will need to give the fasteners a pretty
good hit with the palm of your hand to get them in.
|
|
|
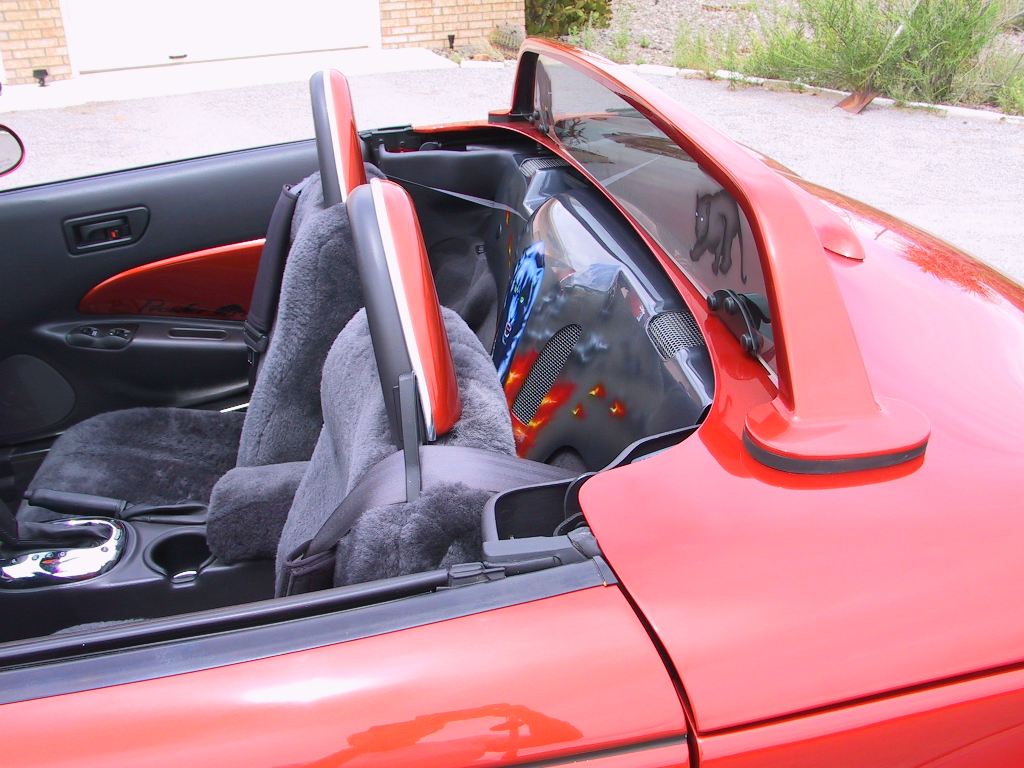
After all fasteners are replaced, put top into trunk
and strap it down. Check to be sure deck lid locks down securely.
If so, you are done!
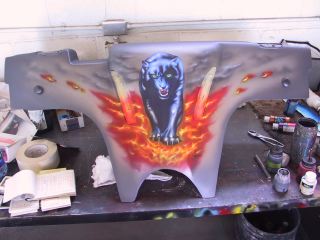
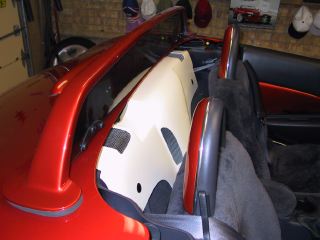
Now you can put the top back up (why?) or leave the
top down for everyone to see your new speaker box cover!
|
|
|
|
|
Note: there may be an issue
with the lid locking down since there is very little clearance
between the deck lid and the top of the speaker box cover. We
were required to trim some of the carpet on the lid, but once
that was done no more problem.
To identify the problem area
we put a little whip cream on the cover, closed it to see where
it was hitting and then trimmed that area away.
|
|
|
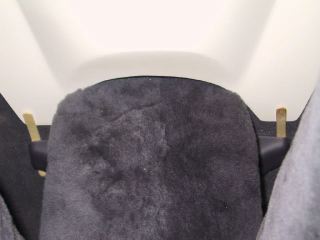
Another hint: the bottom of
the speaker box cover when first installed may not lay flat against
the back, so I took a couple of wooden sticks and wedged it behind
the center console bracket and on top of the bottom end of the
cover. After a couple days, remove the sticks and the cover will
lay flat.
|
|
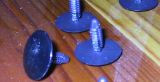 |
If you have a problem and break
a fastener, you can get replacements from your MOPAR parts department
- Part# RV36LAZ-AA
|
|