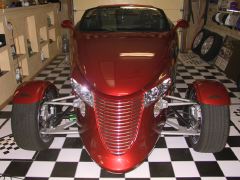
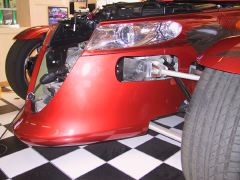
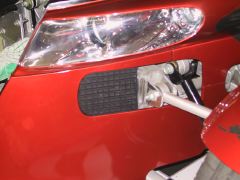
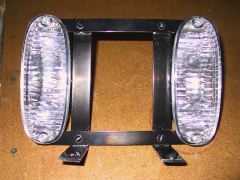
There are (4) 13 mm bolts that hold each bumper and one electrical
connector to the lights. The bolt heads face forward and the
nuts are on the back side of the frame. The nuts also have tabs
welded to them so they will not rotate, i.e. you only need to
turn the bolt head (this makes life a lot easier since you need
only get in there with one tool).
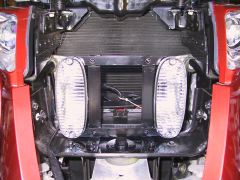
Undo the electrical connectors so you won't forget later.
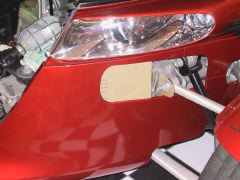
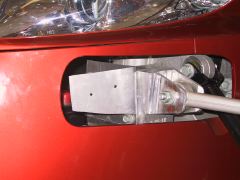
Use a 13 mm socket wrench to get at the bolt heads. Two
of the bolts are easy to get at and you can easily see them with
the hood open. Go ahead and do those first, so you'll feel like
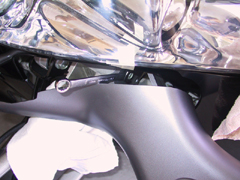
you are making progress Another one is a little tougher, but
doable. Remove this one next, so you'll have the mistaken impression
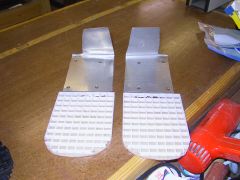
that you are 3/4 done. The fourth bolt is wedged behind the
aluminum frame for the bumpers and a real pain in the *. I found
it easiest to remove the first three and then you can rotate
the bumper slightly for better access. I also used a 1/4"
drive ratchet, because it was smaller and easier to rotate (actually
I used a 1/4" drive air ratchet, but hand tools should work).
You may have to break the bolts loose with a combination wrench
or 3/8" drive to get enough leverage.
It took me about 45 minutes to get one side off and then
5 minutes for the other. Most of the time was jockeying around,
selecting the right tools, and hurling obscenities over that
4th bolt.
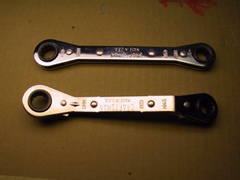
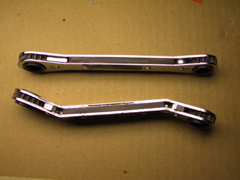
Note: Picked up a couple of craftsman wrenches (13mm) for
this job. Will come in handy for lots of other tasks, so definintely
worth the cost
|