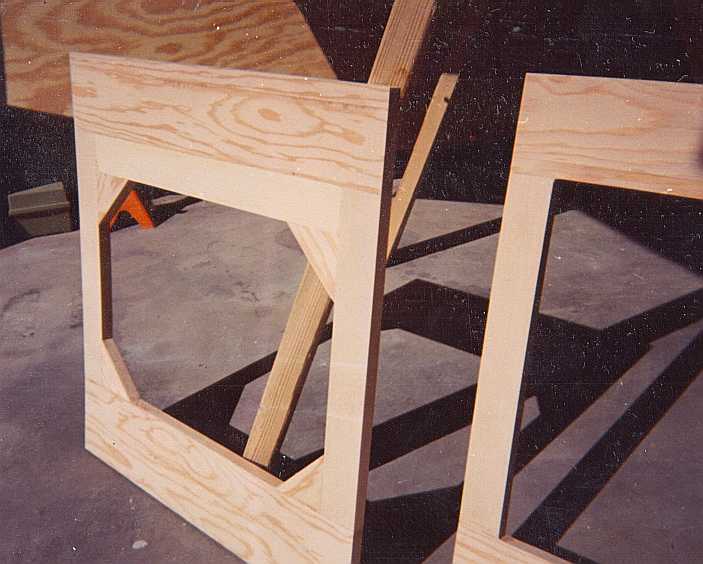
F3 & F4 without ply.
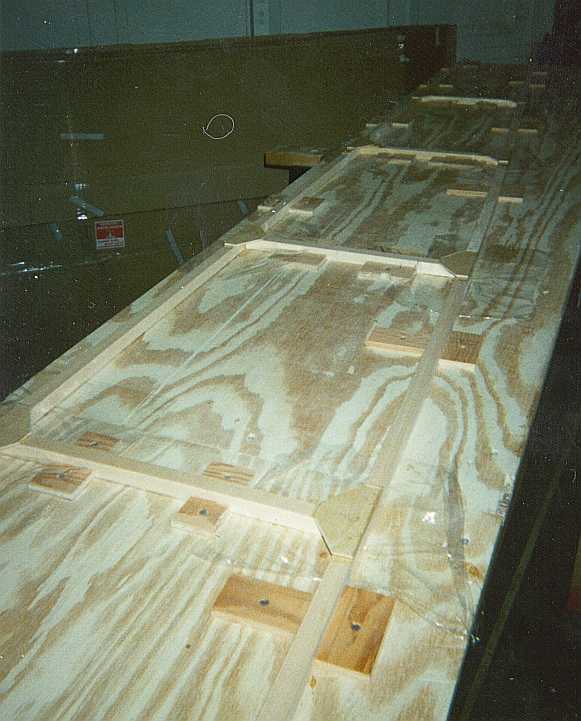
Fuselage side
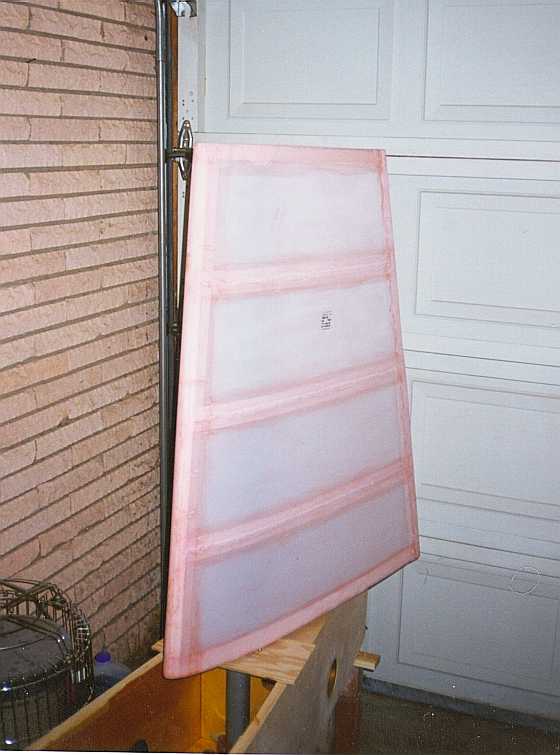
Rudder
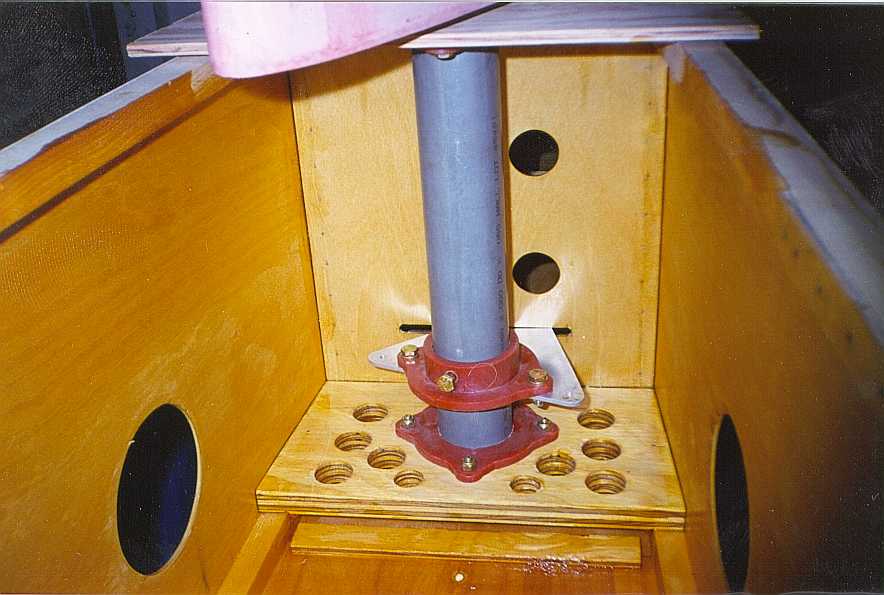
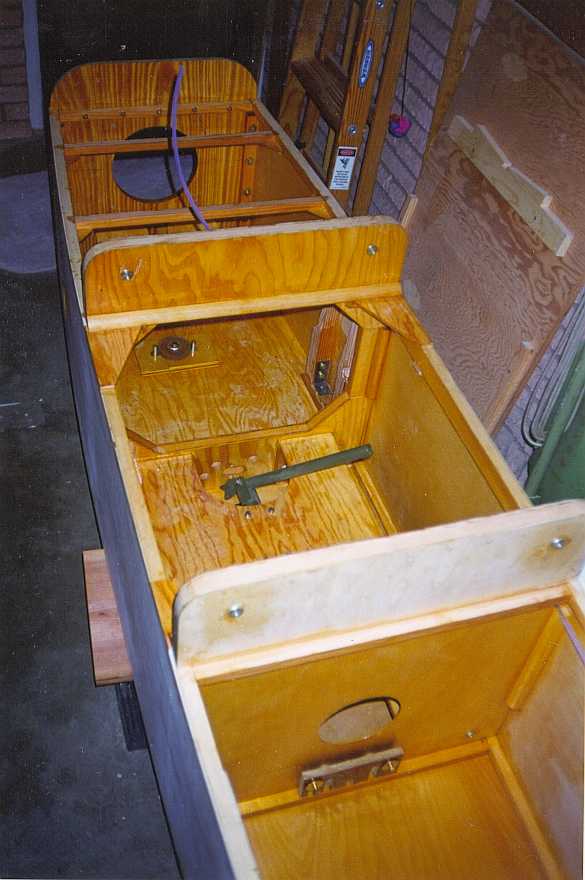
Rudder bellcrank & lower bushing
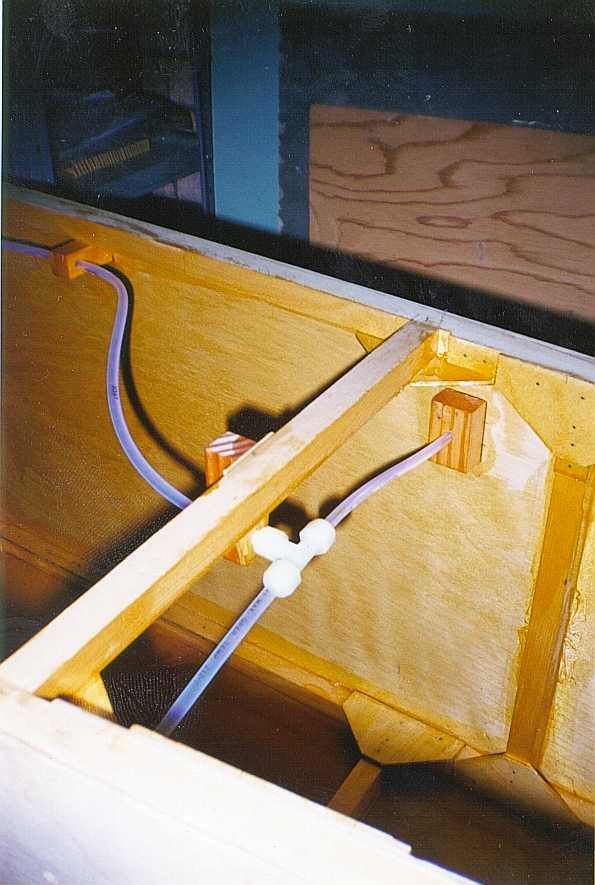
Rudder area showing static air source
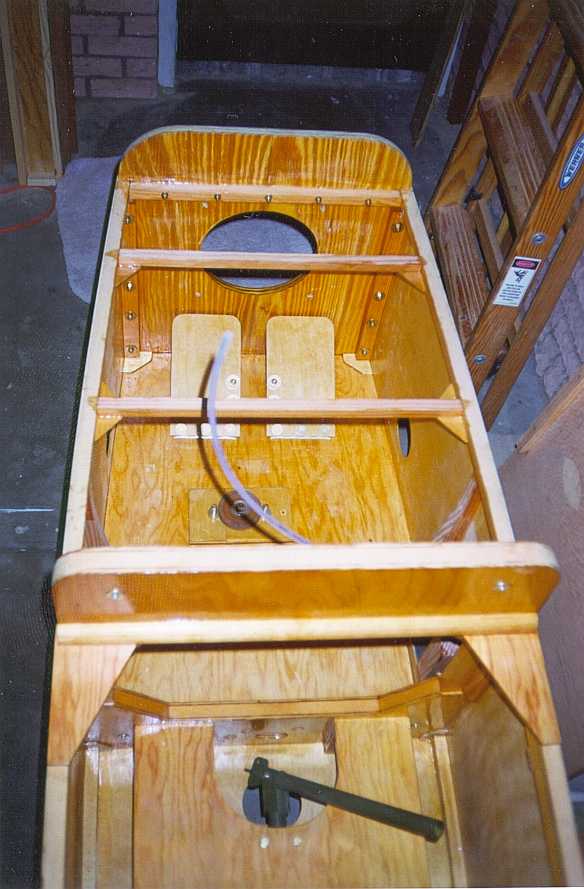
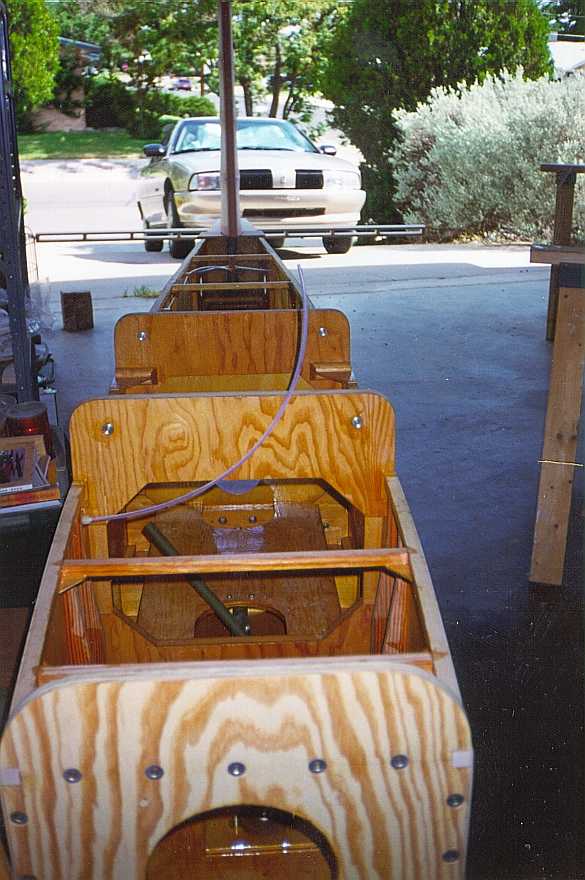
Cockpit showing rudder pedals
Cockpit with F3/F4 Jig in the background
Static air source
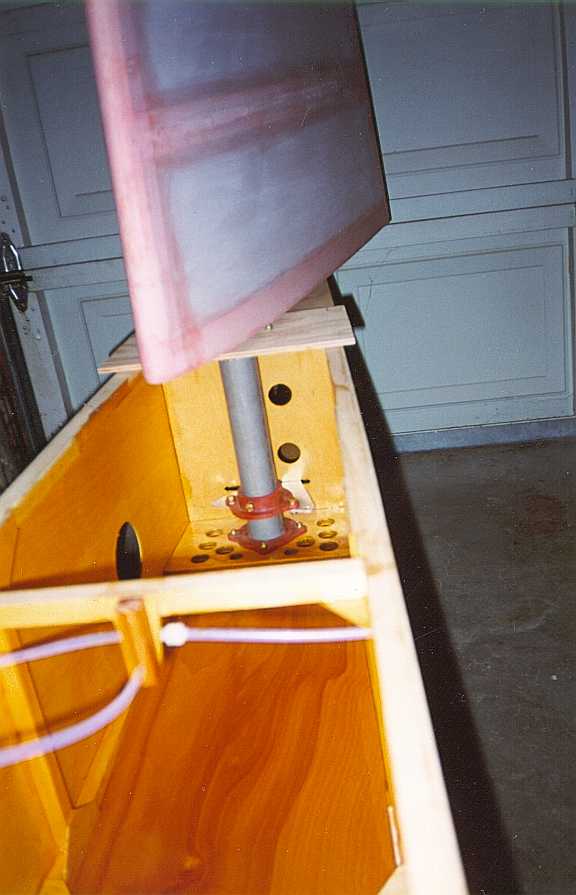
Stabilator spar test fit
Front view of stabilator spar test fit