


I used these software applications to create the images on this site:
| |
Image Details | The images on this site are all composed of three main elements: 1) three-dimensional (3D) models, 2) an array of lights, and 3) a background image. Combining these simple elements in different ways provides a wide range of creative possibilities. |
The Models | I modeled the boosters, spacecraft, planets, moons and other elements in these images using trueSpace "primitives." Primitives are simple geometric objects, such as cubes, spheres, cylinders and cones, that can be manipulated and transformed and then used like building blocks to create complex objects. By stretching, shrinking, warping, cutting, deforming and combining simple primitives, I created all the shapes I needed to make up the spacecraft, probes, boosters, space stations and other objects in these images. |
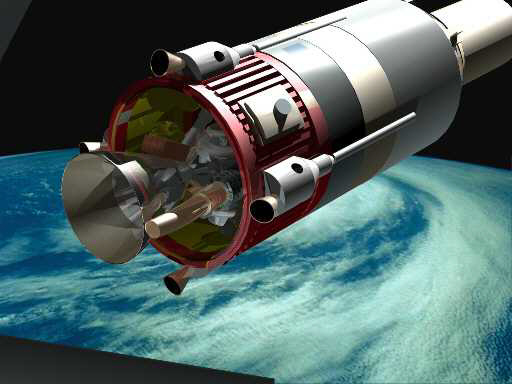 | The models are a lot more complicated than they seem
at first glance. For example, the upper stage that appears in several of the early works has a fully detailed engine, including pipes, pressure spheres, valves, electronic modules, hydraulic gimbal actuators and brackets, etc. The view at left just hints at the level of complexity far beyond what the eye can see in this render. The top of the lower stage includes gas spheres, plumbing, engine igniter module, acoustical padding on the interstage petals, etc. These details can't be seen in any of the images. So why bother modeling them at all, you may well ask. Well, the beauty of 3D modeling is that, once the model exists, it can be viewed from any conceivable angle and under any conceivable lighting conditions. So if I ever want to make a close-up rendering of the booster separation looking right into the interstage area, the model is ready to accommodate that. |
 | Texturing
is another aspect of 3D modeling that has a huge effect on the finished
product. Texturing a model involves "painting" its surfaces with images
that simulate the materials it is made of. By varying a texture's
source file, reflectance, transparency, roughness, refractive index and
other attributes , it's easy (well, relatively easy) to get exactly the
look desired. Other texture images called "bump maps" interact with the
lights in the scene to create the illusion of surface irregularities
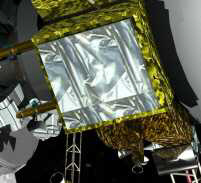
such as grooves, ridges, depressions or wrinkles. A good example of texturing is the wrinkled MLI (Multi-Layer Insulation) blankets on the interplanetary probe's electronics modules on the Leaving Earth Orbit image (see the close-up image at left). |
The Lighting
| Lighting
is without a doubt the most important factor in creating realistic
three-dimensional rendered computer artwork, and the hardest to master.
All the effort that goes into creating an incredibly detailed, richly
textured model can be wasted if the rendering doesn't pay meticulous
attention to the lighting. On the other hand, the right lighting setup
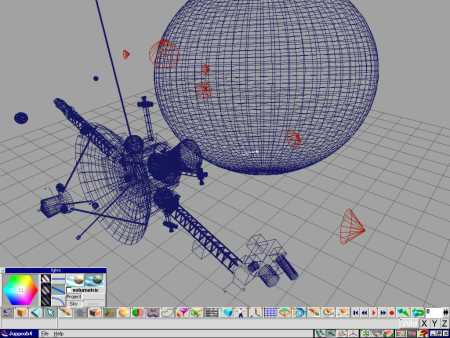
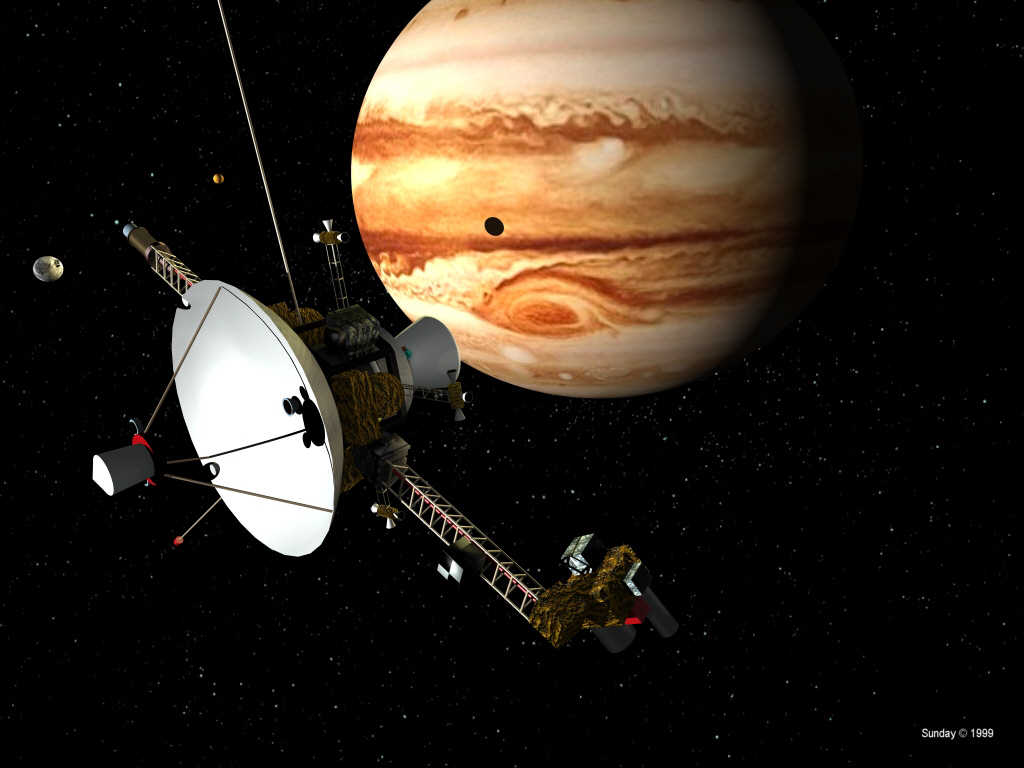
can make even mediocre models look good In space, the lighting is usually fairly simple. There's typically a big, bright light (the sun) and one or more smaller, dimmer sources that shine only because they reflect the light from the sun (the surfaces of planets and moons, for example). Such a simple lighting setup, while strictly accurate in the physical sense, does not necessarily make for attractive artwork. To make a good-looking image with artistic merit, the glaring, high-contrast light of space must be tempered by the addition and placement of other subtle light sources in a scene. Most of the scenes in the Gallery are illuminated by at least three lights of different intensities and colors. Some have many more. The Encounter with the Giant scene is lit by seven separate lights to simulate the sunlight, the light reflected from Jupiter and its moons, and the light reflected by the spacecraft upon itself. The screen print at left shows the scene in trueSpace before rendering--the red objects are directional lights similar to studio spotlights. Playing around with lighting setups can be a long, painstaking, iterative, trial-and-error process, especially when the scene usually has to be rendered to see the results. Versions 4 and later of trueSpace have a "radiosity renderer," which accurately models the reflection of light among the various objects in a scene. But using radiosity drastically increases render times to the point that it's a tradeoff to decide whether to use it or just approximate the effects of light reflections by adding multiple lights. |
The Backgrounds
| The planetary background images in these works all come from stock
photo sources or from NASA websites. In all
cases, I modified them before using them in the final artwork. For example, I
usually had to adjust the color balances to remove bluish casts on some of the earth
pictures. Although stars usually cannot be seen in pictures of planets taken from space (the planet's brightness washes out the dimmer stars), for these images I used star backgrounds simply because most people expect to see stars in a space picture. Using Picture Publisher or PhotoPaint, I created simple star-filled space backgrounds by starting with a blank black "canvas." I added stars either by using a noise filter or by dabbing on individual white points, and then cloned madly to fill up the image with the stars I'd made. The big, bright stars blazed to life courtesy of the airbrush tool. Dark Tree is a procedural texture generator that I used
for some of the space backgrounds, especially those featuring swirling
clouds of glowing ionized gas. But Dark Tree doesn't do a very good job
of dotting the scene with individual stars, so I always had to put a
lot more work into the backgrounds than I wanted to to make them look
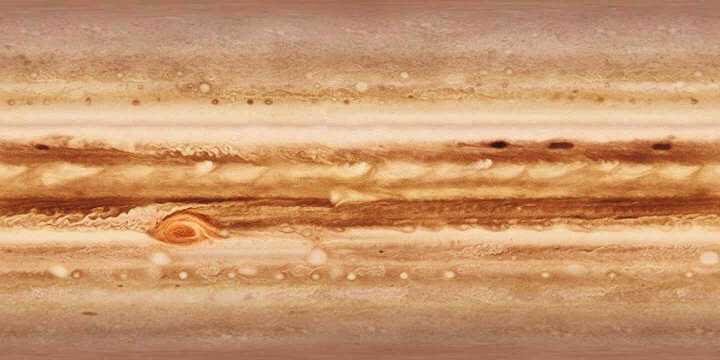
realistic. To create an accurate Jupiter, I downloaded an image map (seen at left) that was assembled from many actual photographs of the planet taken by NASA's Voyager and Galileo space probes. In trueSpace, I "wrapped" this image map around a squashed sphere and ended up with a great-looking Jupiter. |
Comments? Compliments? Complaints? Commissions?

Copyright � 1998 - 2015 by Terry L. Sunday.
All rights reserved. Please ask permission before using any of these images for any
reason.
Some of the background images for these works are available in the public domain.