
|
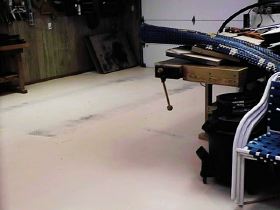
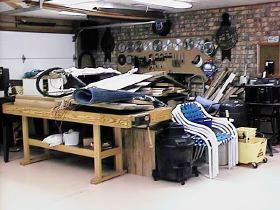
This is what the workshop/toyshop looked like during the remodeling. Check out the photos of the progress. |
The first item to be tackled was getting rid of the excess scrap wood that we had been accumulating over the years and then re-painting the area to be utilized as a work area. That is Norm's area of expertise (the painting that is). |
|
|
||
|
|
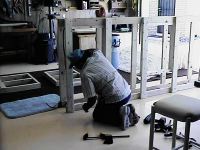
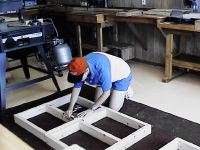
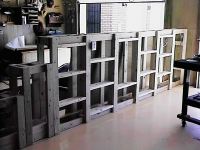
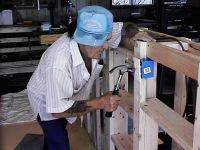
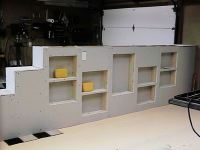
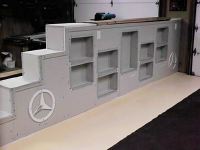
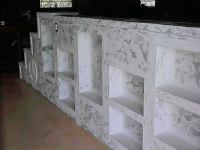
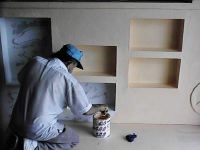
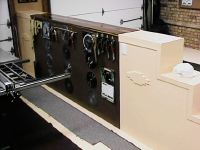
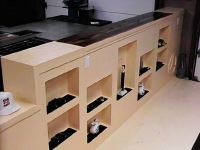
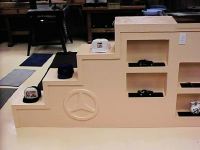
Next was to build a room divider. But of course it wouldn't be just an ordinary divider, one side (workshop area) would have to hold the saw blades and assorted tools and clamps that were hung up in the area that now would be the garage. The other side (toyshop area) of the divider was destined to have automobile related items either hung up or on shelves. We spent a few days deciding just what we wanted and a few more figuring out how it would be built. Basically it would be done in three phases - 1 - Framing, 2 - Sheetrock, 3 - Taping, texturize and painting. |
|
|
|
|||
|

|
|
|||
|
|
|
|||
|
|
|
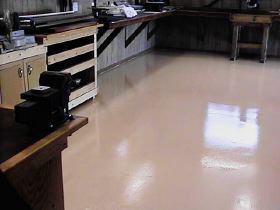
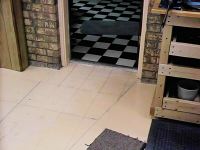
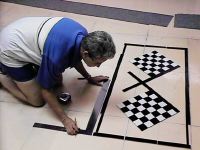
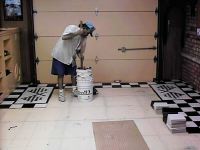
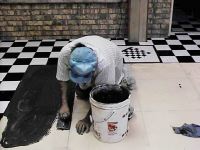
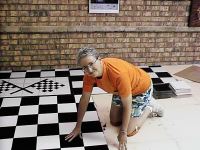
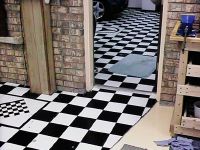
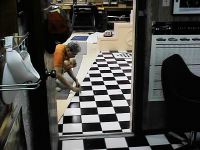
And the last part of the remodeling was to tile the part of the floor that would become the garage (toyshop) area.This area would also have to tie into the existing two car garage which had black and white tile. So more decisions went into just what we could come up with as far as design was concerned. With some of Norm's ideas and Pat's computer skills we came up with a final design that we both agreed upon. Then the work began. It took one full day to lay out the chalk grid lines, another to cut all the tile for the edges and checkered flags, another to lay the tile and finally a part of a day to grout. |
|
|
|
|||
|
|
|
|||
|
|
|
Check out the 'AFTER' page to see the finished project |
|
|
|
|
|